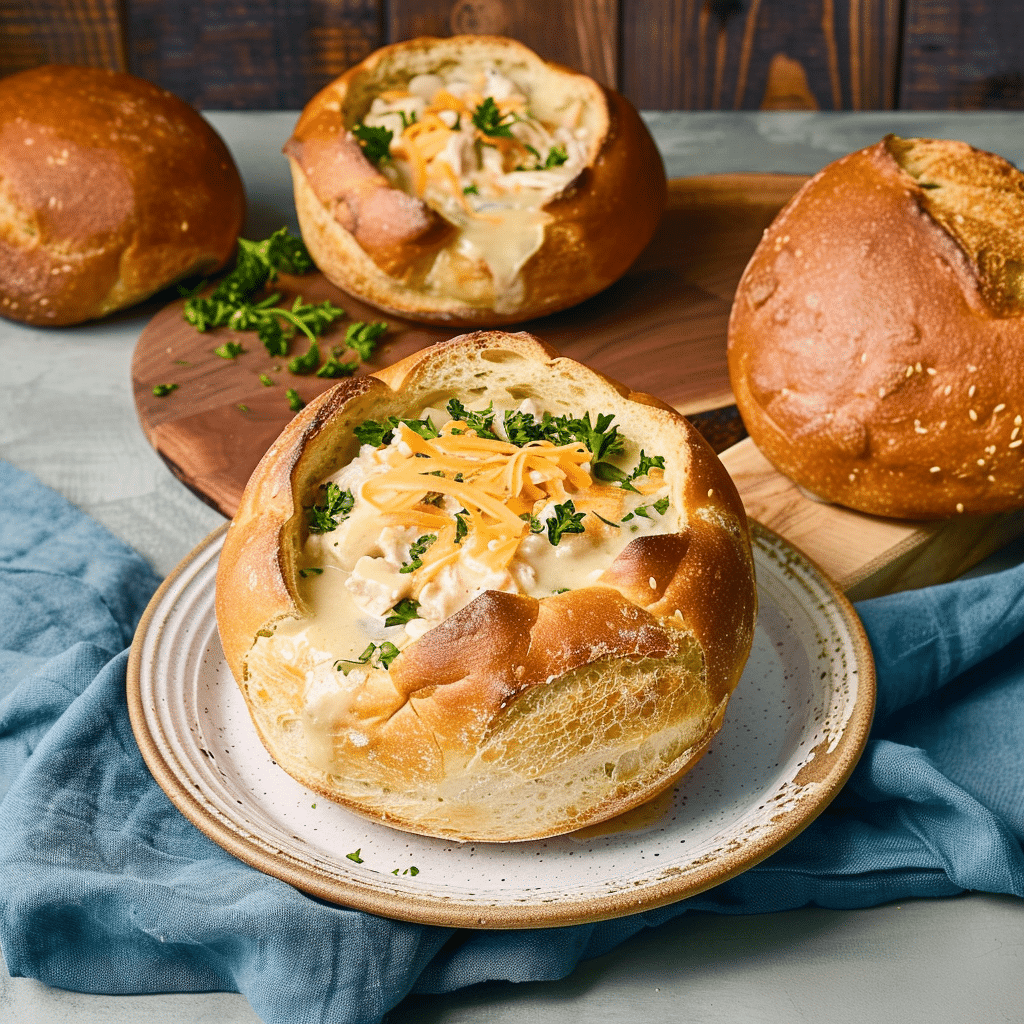
There’s something incredibly comforting about tearing into a golden, crusty sourdough bread bowl filled with warm soup on a cold day. That mix of chewy edges and rich, steamy broth creates an experience no regular bowl can match.
Whether you have a bubbly, active sourdough starter or you’re just trying to use up that discard sitting in the fridge, this is the only bread bowl recipe you’ll need. We’ll walk you through two foolproof methods to get perfectly crusty, chewy, soup-ready bowls every single time.
Inside this guide, you’ll find step-by-step instructions with clear photos, a baker’s timeline to help you plan your bake, and a full troubleshooting section for common mistakes. This isn’t just a recipe. It’s your complete toolkit for mastering sourdough bread bowls from scratch.
Table of Contents

Sourdough Bread Bowls (Classic Artisan & Discard Method)
Ingredients
For the Dough
- 150 g active sourdough starter (or levain) bubbly and at peak strength
- 420 g warm filtered water about 32°C / 90°F
- 660 g unbleached all-purpose or bread flour bread flour gives a chewier crust
For the Salt
- 13 g kosher salt balances flavor and strengthens gluten
Optional Egg Wash
- 1 large egg for shiny crust finish
- 1 tbsp water to thin the egg wash
Instructions
- Step 1 – Build a Levain (Optional, Classic Method): The evening before, mix 50 g starter, 50 g flour, and 50 g water. Let sit at room temperature until doubled and bubbly by morning. Use 150 g of this levain for the dough.
- Step 2 – Mix & Autolyse: In a large bowl, stir 150 g active levain (or starter) with 420 g warm water. Add 660 g flour and mix until no dry bits remain. Cover and rest 30–60 minutes.
- Step 3 – Add Salt: Sprinkle 13 g kosher salt over the dough. With wet hands, press and fold until the salt is fully incorporated and the dough feels smoother.
- Step 4 – Stretch & Folds: Over the next 2–3 hours, perform a set of stretch-and-folds every 30 minutes. After the final set, let the dough rest until aerated and noticeably expanded.
- Step 5 – Divide & Shape: Turn dough onto a lightly floured surface. Divide into 4 equal pieces. Gently tighten each into a round. Rest 10 minutes, then shape more firmly into tight rounds. Place seam-side up in floured bowls or proofing baskets.
- Step 6 – Cold Fermentation: Cover and refrigerate the shaped dough for at least 12 hours (up to 48 hours) to develop flavor and structure.
- Step 7 – Preheat & Bake: Preheat oven to 475°F (245°C). Keep dough cold until loading. Bake using your setup Dutch oven, baking sheet with steam tray, or stone/steel until deeply golden and crusty. Brush with optional egg wash just before baking for shine.
- Step 8 – Cool Completely: Transfer to a wire rack and cool fully to set the crumb and avoid gumminess.
- Step 9 – Make the Bowls: Using a serrated knife, cut a circular lid from the top at a slight inward angle. Hollow the center, leaving ~½-inch (1.25 cm) walls. Save the soft interior for dipping.
- Step 10 – Fill & Serve: Add hot soup or dip just before serving. Replace the lid or serve it on the side to keep contents warm.
Notes
Why You’ll Love This Recipe (And Will Be Your New Favorite)
- Two Foolproof Paths: Pick the Quick and Easy Discard Method for a fast bake in about three hours or go with the Classic Artisan Method for a deeper, tangier flavor.
- No-Soggy-Bottoms-Guaranteed: The crust is chewy and strong enough to hold hearty soups, keeping the bottom intact until the very last bite.
- No Dutch Oven? No Problem: We include three baking options that work with what you have, even if it’s just a basic baking sheet.
- The Ultimate Problem-Solver: Stuck with flat, gummy, or too-hard crusts? Our troubleshooting guide has your back with practical fixes.
Ingredients Needed
For the Dough
- 150 grams of active sourdough starter (bubbly and at its peak strength)
- 420 grams of warm filtered water (around 90°F or 32°C)
- 660 grams of unbleached all-purpose flour or bread flour (bread flour gives a chewier crust)
For the Salt
- 13 grams of kosher salt (balances flavor and strengthens gluten)
For the Optional Egg Wash
- 1 large egg
- 1 tablespoon of water
Expert Tip:
Use a digital kitchen scale for every ingredient. Measuring by weight is the most accurate way to get consistent results, especially with sourdough baking. A scale removes the guesswork and helps you avoid dry or overly wet dough.
The Baker’s Timeline (Your Step-by-Step Schedule)
Use this guide to plan your bake around your day. The times are flexible, but the order matters for best results.
Classic Artisan Method
Day 1 – 9 PM
Feed your starter or mix the levain for the next day
Day 2 – 9 AM
Mix dough and begin autolyse
Day 2 – 10 AM
Add salt and start bulk fermentation
Day 2 – 10:30 AM to 1 PM
Perform stretch and folds every 30 minutes
Day 2 – 1 PM to 3 PM
Let dough finish bulk rise until puffy and expanded
Day 2 – 3 PM
Divide and shape into bread bowls
Day 2 – 3:30 PM
Place shaped dough in the fridge for cold proof
Day 3 – 9 AM or later
Preheat oven and bake directly from the fridge
Quick Discard Method
Same Day – 9 AM
Mix dough and knead
Same Day – 9:15 AM
Let dough rise for 90 minutes
Same Day – 10:45 AM
Divide and shape into bread bowls
Same Day – 11 AM
Final rise for 60 minutes
Same Day – 12 PM
Bake and cool before serving
How to Make Classic Artisan Sourdough Bread Bowls
Method 1: The Classic Artisan Approach (Best Flavor)
Step 1: Build Your Levain (Optional but Highly Recommended)
The evening prior, combine 50 grams of your starter with 50 grams of flour and 50 grams of water. Allow this blend to rest at room temperature until it becomes bubbly and has doubled in volume. By morning, it should smell pleasantly tangy and be full of bubbles. You’ll be using 150 grams of this active levain for your dough.
Step 2: Mix the Dough and Begin the Autolyse
In a large bowl, stir together 150 grams of the prepared levain and 420 grams of warm water. Once fully combined, add 660 grams of flour. Mix just until all the dry bits are gone. Don’t worry about kneading at this stage. Place a cover on the bowl and allow it to sit for 30 to 60 minutes. This rest period allows the flour to absorb the water and begin gluten formation naturally.
Step 3: Add the Salt
Once the dough has rested, sprinkle 13 grams of kosher salt over the top. With slightly wet hands, press the salt into the dough using a pressing and folding motion. Continue kneading until the salt is completely incorporated and the dough becomes smoother. This step usually takes a few minutes.
Step 4: Strengthen the Dough with Stretch and Folds
Now let the dough rise at room temperature. During this rise, perform a series of stretch and folds about every 30 minutes for the next two to three hours. To do this, pull the dough gently upward from one side and fold it over itself. Turn the bowl and repeat from all sides. These actions allow the dough to develop strength and structure without the need for conventional kneading. After the final stretch, leave the dough undisturbed until it looks aerated and has grown noticeably in volume. Depending on your kitchen temperature, this could take another few hours.
Step 5: Divide and Shape into Rounds
Once the dough has risen enough, move it onto a lightly floured surface. Cut it into four equal parts. Lightly flatten each piece, then fold the edges into the center to create a round. Flip it over so the seam is down and gently tighten the shape by pulling it toward you against the counter. Allow the dough to sit for 10 minutes before reshaping it into a firmer form. Place each round into a floured bowl or proofing basket, seam side up.

Step 6: Cold Fermentation in the Fridge
Cover the shaped dough and place it in the refrigerator. Allow it to cool for at least 12 hours. This extended cold proof improves both flavor and texture.If necessary, the dough can remain in the refrigerator for as long as 48 hours.
Step 7: Get Ready to Bake
Preheat your oven to 475°F and prepare your baking setup in advance. Keep the dough cold until the moment it goes into the oven. This will help it hold its shape. Next, choose your preferred baking method to get the best crust and rise. Each option is outlined in the following section.
Method 2: The Quick Discard Approach (Ready in ~3 Hours)
This version is ideal when you want the flavor of sourdough without the wait. It uses sourdough discard for tang and instant yeast to speed things up. You’ll go from mixing to serving in just about three hours.
Ingredients for the Discard Method
- 150 grams sourdough discard (unfed but not more than 5 days old)
- 420 grams warm water (around 90°F or 32°C)
- 660 grams all-purpose or bread flour
- 7 grams instant yeast (about 2 teaspoons)
- 13 grams kosher salt (about 2 and 1/4 teaspoons)
- 1 large egg (optional, for egg wash)
- 1 tablespoon water (optional, for egg wash)
Step 1: Mix the Dough
Combine the sourdough discard, warm water, and yeast in a large bowl. Stir to dissolve. Add the flour and salt, then mix until all dry patches disappear. The dough should be soft and a bit sticky.
Step 2: Knead
Turn the dough out onto a floured surface and knead it for about 8 to 10 minutes until smooth and elastic. If using a stand mixer, knead with a dough hook on medium speed for 5 to 6 minutes.
Step 3: First Rise (90 Minutes)
Place the kneaded dough into a lightly greased bowl and cover it with a damp towel or plastic wrap. Let it rise in a warm spot until it doubles in size. This usually takes 90 minutes.
Step 4: Shape
Gently deflate the dough and divide it into four equal portions. Shape each piece into a smooth, tight ball. Let the shaped dough rest for 10 minutes to relax the gluten.
Step 5: Final Rise (60 Minutes)
Place the shaped dough on a parchment-lined baking sheet. Cover lightly and let it rise again for about one hour. The dough should puff slightly and feel lighter when touched.
Step 6: Bake
If using, whisk the egg with one tablespoon of water and brush each dough ball lightly. Preheat your oven to 425°F. Bake the bread bowls for 25 to 30 minutes or until golden brown and crusty. Let them cool fully before carving.
This method skips the complexity but keeps the flavor. It’s the perfect entry point for beginners or anyone short on time.
The Secret to a Perfect Crust: 3 Baking Methods Compared
Creating steam during baking is key to a great sourdough crust. It allows the dough to expand before the crust sets, resulting in better oven spring and a crisp, golden surface. Here are three ways to achieve that, each with its own benefits.
Method 1: Dutch Oven (Best Oven Spring)
- Traps steam naturally, helping the dough expand fully
- Produces a glossy, crackly crust every time
- Limited to baking one or two bowls at a time due to size
Method 2: Baking Stone with Steam Pan (Best for Batches)
- Allows you to bake several bread bowls at once
- Mimics the effect of a professional oven with added steam
- Requires a baking stone and a tray of boiling water for steam
Method 3: Baking Sheet Method (No Special Tools Needed)
- Most accessible setup, great for beginners
- Still delivers decent crust and shape
- Crust may be slightly softer due to less steam
Baking Method Comparison: Pros and Cons at a Glance
| Method | Pros | Cons |
|---|---|---|
| Dutch Oven | Excellent oven spring and crackly crust. Traps steam naturally. | Limited capacity. Only fits one or two bowls at a time. |
| Baking Stone + Steam | Bakes several bowls at once. Delivers artisan-level results with steam. | Needs a baking stone and a tray of boiling water. |
| Baking Sheet | Easiest setup. No special tools required. | Crust may be less crisp without controlled steam. |
No matter which method you choose, preheating properly and adding steam at the right time will help you bake bread bowls that look and taste incredible.
How to Cut, Serve, and Enjoy Your Bread Bowls
Step 1: Let the Bread Cool Completely
Freshly baked bread bowls need to cool fully on a wire rack. This helps the crust set and keeps the inside from turning gummy when you cut into it.
Step 2: Slice Off the Top
Use a serrated knife to carefully cut a circle around the top of the bread. Tilt the knife inward a bit to form a ‘lid’ that fits securely back on top.
Step 3: Hollow Out the Center
Gently pull out the soft inner bread using your fingers or a spoon, leaving about a half-inch wall all around. Be careful not to tear through the sides or bottom. Save the scooped-out bread for dipping.

Step 4: Fill and Serve
Pour hot soup or dip into the hollowed center just before serving. Add the bread lid on the side for presentation or place it gently back on top to keep the contents warm.
Best Soups and Dips to Pair With Sourdough Bread Bowls
- Clam chowder
- Broccoli cheddar soup
- Classic chili
- French onion soup
- Spinach and artichoke dip
- Creamy tomato basil soup
Each option works beautifully with the chewy inside and crisp crust of sourdough bread. If you have soup or dip recipes on your site, link them here to help your readers create a complete meal.
Can You Eat the Bowl?
Yes, and you absolutely should. Once your soup is gone, tear into the soft edges and soak up the last bits. It’s the perfect mix of flavor and texture, and it’s part of what makes bread bowls so satisfying.
Your Sourdough Troubleshooting Guide
Help! Why Are My Bread Bowls Flat?
Flat bread bowls usually mean your dough didn’t rise enough. This could be due to an inactive or weak starter, under-proofed dough, or a lack of steam during baking. Make sure your starter is bubbly and active before mixing, and always give your dough enough time to rise fully. Adding steam in the oven helps create that needed oven spring.
Why Is the Inside Gummy or Doughy?
If the crumb is sticky or raw in the center, two things likely went wrong. Either the bread was cut too soon or it was not baked long enough. Always let your bread cool completely before slicing. For best results, check the internal temperature using a digital thermometer. It should read between 205 and 210 degrees Fahrenheit or around 96 to 98 degrees Celsius.
Why Is My Crust Too Hard or Too Soft?
A crust that’s too hard might mean you baked too long without enough steam. On the other hand, a soft crust usually points to too much moisture or insufficient heat. Use proper steam during the first part of baking, and remove the steam source or lid in the final minutes to let the crust dry and darken properly. Make sure your oven is preheated to the right temperature before you begin.
Storage and Make-Ahead Instructions
How to Store Baked Bread Bowls
Once cooled, keep your bread bowls in a paper bag or bread box at room temperature. They’ll remain fresh for a couple of days. Steer clear of plastic bags, which can cause moisture buildup and make the crust soft. If the crust becomes soft, you can revive the bowls by placing them in a hot oven for a few minutes before serving.
How to Freeze Bread Bowls
Individually wrap each cooled bread bowl in plastic wrap, then store them in a freezer-safe bag. Mark the date on the bag and freeze for a maximum of three months. When ready to use, let them thaw at room temperature, then warm them in the oven at 350 degrees Fahrenheit for ten to fifteen minutes to restore the crust.
Making the Dough in Advance
If you want to prepare ahead, let your shaped dough cold-proof in the fridge. You can hold the dough in the refrigerator for twelve to forty-eight hours before baking. This flexible window makes it easy to fit sourdough baking into your schedule without losing quality.
Conclusion
Now you have the ultimate guide to creating bakery-quality sourdough bread bowls in your own kitchen. Whether you’re short on time or going for full artisan flavor, both methods in this recipe deliver dependable, delicious results.
By mastering these techniques, you’re not just baking bread. You’re building warm, cozy meals that bring people together. From the satisfying crunch of the crust to the final bite soaked in soup, every step is designed to help you succeed.
If you tried this recipe, drop a comment and leave a star rating below. Share your results on Pinterest or Facebook so others can enjoy your creations too.
What soup did you fill your bread bowl with? Let us know we’d love to hear your twist.
Frequently Asked Questions (FAQ)
How do I know when my sourdough starter is ready to put in dough?
Your starter is ready when it has doubled in size, looks bubbly, and passes the float test. To do the float test, drop a small spoonful of starter into a glass of water. If it floats, it’s active and ready to use.
What bowl is best for sourdough fermentation?
A clear glass or plastic bowl works best. It allows you to see the rise and helps you judge when the dough has fermented enough. Make sure it’s large enough to let the dough expand during bulk fermentation.
What type of bowl should I use for sourdough bread?
For proofing shaped dough, use a banneton basket or a medium mixing bowl lined with a floured kitchen towel. These options support the dough and help it keep its round shape.
Can I make smaller sourdough bowls?
Yes, just divide the dough into more portions. Instead of four large bowls, shape five or six smaller ones. Keep an eye on the bake time. Smaller bowls may finish baking a few minutes earlier, so check for a golden crust and an internal temperature around 205 degrees Fahrenheit.
Looking for more sourdough inspiration? Try one of these reader favorites:
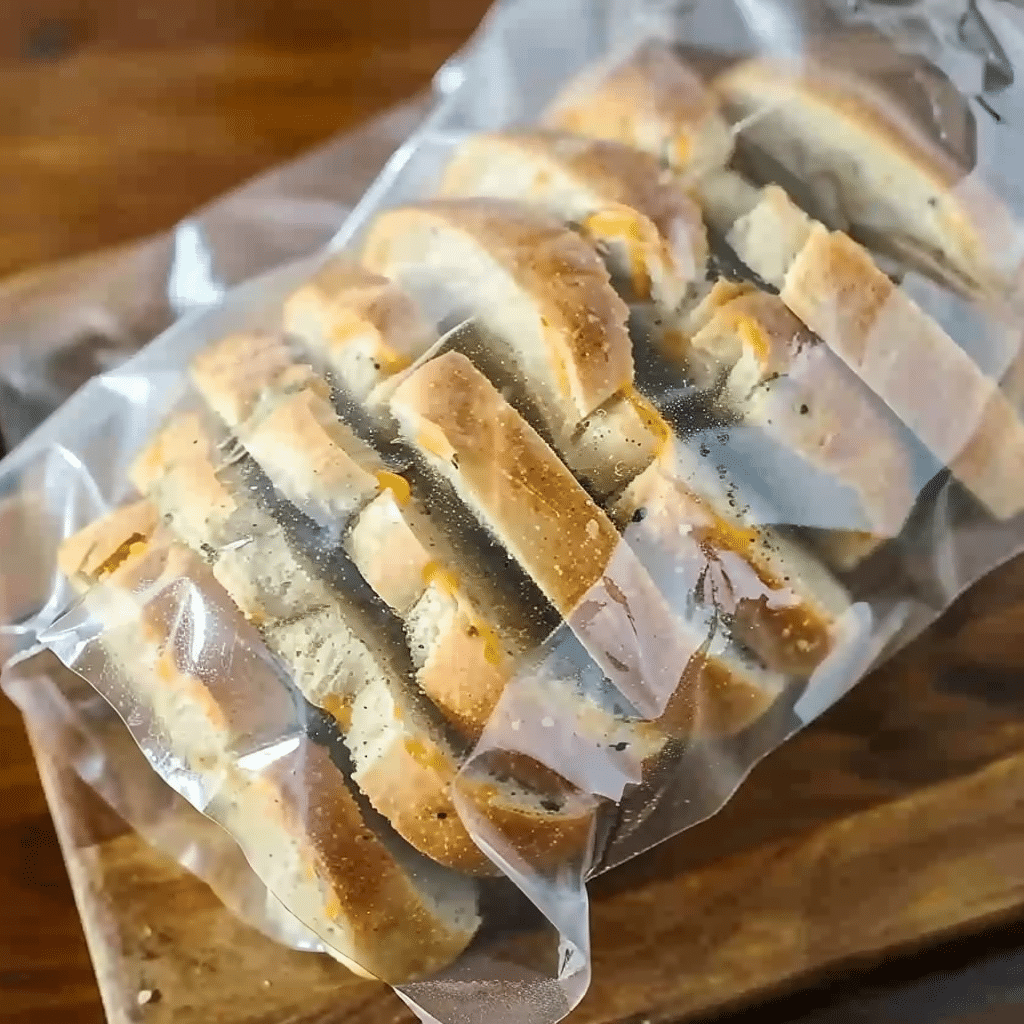
- Everything Bagel and Cheddar Sourdough Bread – A bold, savory loaf packed with cheddar cheese and everything bagel seasoning.
- Everything Bagel Sourdough Bread – A simple, flavor-loaded bread perfect for sandwiches or toast.
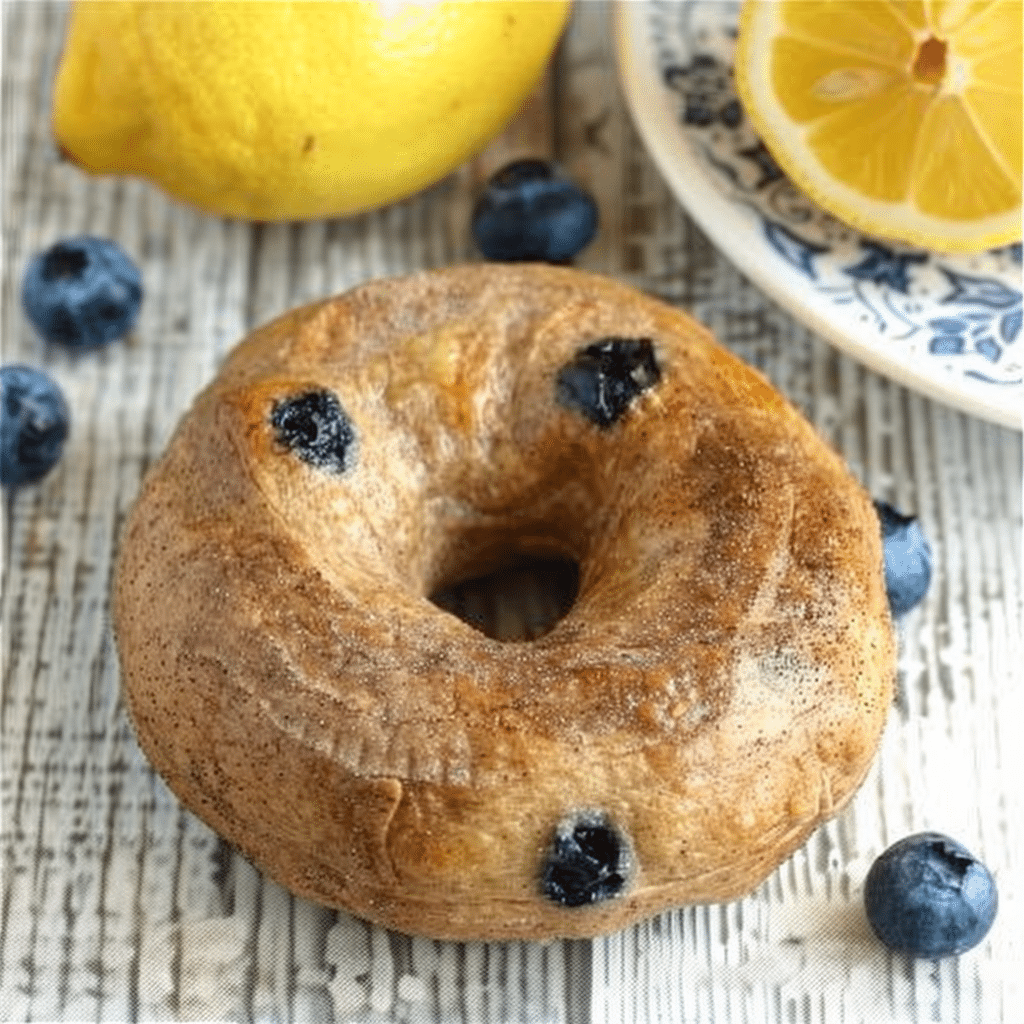
- Cinnamon Raisin Sourdough Bagels – Sweet, chewy, and ideal for breakfast or a cozy afternoon snack.
For more recipes follow me on : pinterest and medium
Warning: This article is provided for strictly informative purposes and cannot be replaced in any case as a medical professional, a diagnosis or a treatment.
For all health questions, you should consult a qualified health professional.