
Pizza night is sacred in many homes. But if you’ve ever started craving homemade pizza only to remember your sourdough dough needs an overnight rise, you’re not alone. That’s exactly why this recipe exists.
This no-yeast sourdough discard pizza dough is the shortcut every sourdough baker needs. It’s quick, flavorful, and makes the kind of crust you dream about crispy edges, chewy middle, and just enough tang to keep it interesting. Using ingredients you probably already have at home.
Why This Recipe Works:
- Ready in just a few hours
- Uses up sourdough discard you’d otherwise throw out
- Chewy crust with rich, sourdough flavor
- The stretch and fold technique eliminates the need for kneading.
- Only 4 to 5 pantry-friendly ingredients
I first came up with this recipe out of necessity. I had extra discard sitting in the fridge, a hungry family, and no time for a long bulk ferment. I didn’t expect much. But what came out of the oven surprised me and quickly became a weekly habit. It’s now my go-to, and I’ve refined every step so you can get perfect results the first time.
Let’s get into what makes sourdough discard pizza dough different, and why it belongs in your rotation.
Table of Contents

No‑Yeast Sourdough Discard Pizza Dough
Ingredients
Main Dough
- 500 g bread flour If needed can substitute with all‑purpose flour (softer texture).
- 300 g sourdough discard Discard less than 10 days old; can use active starter if available.
- 275 g warm water Around 80‑90°F; reduce to ~250 g if dough too sticky.
- 10 g kosher salt If using table salt, reduce amount accordingly.
Instructions
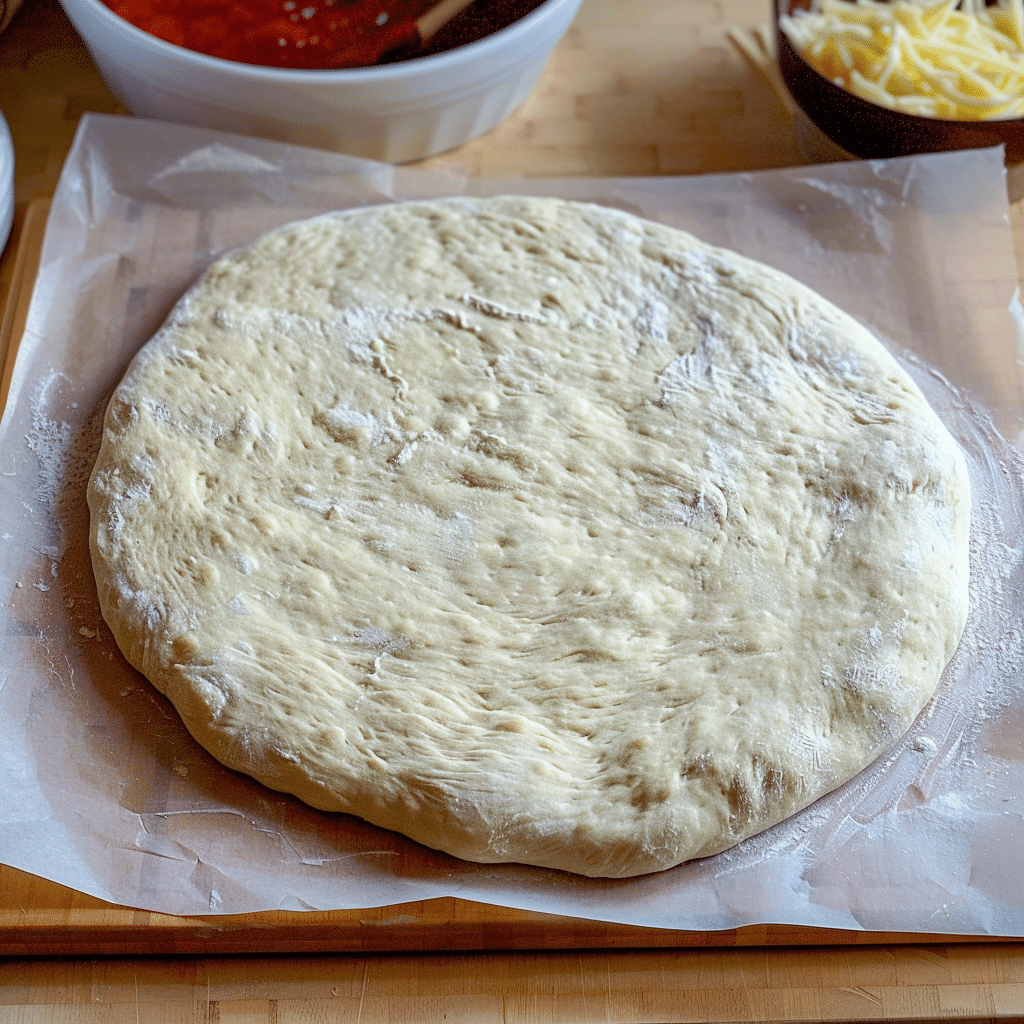
- Step 1 – Mix the Dough: In a large bowl, combine flour, sourdough discard, warm water, and salt. Mix until no dry flour remains. Cover and rest for 20 minutes.
- Step 2 – Stretch and Fold: With damp hands, stretch and fold the dough from all sides. Turn the dough seam-side down and rest for 15 minutes. Repeat this process 4–6 times with rests in between. Dough should become elastic and smooth.
- Step 3 – Bulk Fermentation: Cover the bowl and let the dough rise until doubled in size, about 2–4 hours depending on room temperature.
- Step 4 – Divide and Shape: Lightly flour your surface. Divide dough into two equal parts. Shape into balls by folding edges to center, then flip seam-side down.
- Step 5 – Proof: Let shaped dough rest uncovered for 15–20 minutes. For stronger flavor, refrigerate covered for up to 4 days.
- Step 6 – Stretch the Dough: Flatten dough from center outward with fingers. Gently rotate and stretch until desired shape is reached.
- Step 7 – Top and Bake: Add toppings of choice. Bake on preheated stone, steel, or pan in hot oven until crust is golden and cheese bubbles (about 8–12 minutes).
Notes
The SThe Sourdough Discard Difference: Why It’s Perfect for Pizza Dough
If you’ve ever baked with sourdough, you’ve probably found yourself with leftover starter. That leftover is called sourdough discard. Instead of tossing it, you can use it to make pizza dough that’s fast, flavorful, and yeast-free.
Sourdough discard is simply unfed starter. It retains wild yeast and bacteria that impart sourdough with its distinctive tang. While it’s not as active as a freshly fed starter, it still brings plenty of flavor to the table. And in this recipe, that’s exactly what we want.
Here’s why sourdough discard works so well for same-day pizza dough:
- Natural fermentation boost: Discard has just enough wild yeast to help the dough rise faster than flour and water alone.
- No commercial yeast needed: The natural microbes do all the work.
- Deep flavor in less time: You get that mild sourdough bite without waiting overnight.
- Reduces waste: It’s a smart way to use your discard instead of throwing it out.
This dough skips the long wait while still delivering a chewy, delicious crust. Perfect for when you want homemade pizza on the same day.
Key Ingredients and Pro Tips for Success
To make great pizza dough with sourdough discard, you only need a few basics. Every ingredient is crucial for the taste, consistency, and fermentation process of the dough.
Ingredients:

(For two medium pizza crusts)
- 500 grams bread flour
- 300 grams sourdough discard (less than 10 days old)
- 275 grams warm water (80 to 90°F)
- 10 grams of kosher salt (reduce amount if using table salt)
Ingredient Notes:
- Sourdough Discard
Use discard that’s under 10 days old for best results. Older discard can have a sharper taste. If you have active starter available, you can use that as well. - Bread Flour
This gives the dough structure and chew. Its high protein content helps build gluten. If needed, you can substitute with all-purpose flour, but the crust will be slightly softer. - Water
Warm water helps speed up fermentation and keeps the dough smooth. If you’re new to sourdough and find the dough too sticky, try lowering the water to 250 grams. - Kosher Salt
Diamond Crystal is the standard in this recipe. If you’re using a different type like Morton’s or regular table salt, use a scale or reduce the volume by half to avoid oversalting.
Ingredient Substitutions
| Original | Substitute | Notes |
|---|---|---|
| Bread flour | All-purpose flour | Slightly softer texture |
| Kosher salt | Table salt | Use half the amount |
| Sourdough discard | Active starter | Will rise a bit faster |
Pro Tips for Success
- Use a digital scale
Measuring by weight gives better results than using cups. You’ll get consistent dough every time. - Stretch and fold, not knead
This technique carefully forms structure without excessively handling the dough. It also keeps more air in the final crust. - Watch hydration
The dough will be sticky at first. Don’t panic. This is normal for high-hydration dough. If it’s too hard to handle, reduce the water slightly. - Warm rising spot matters
Keep your dough around 75 to 80°F for best fermentation. If your kitchen runs cool, place the bowl in your oven with just the light on.
With the right ingredients and a few simple techniques, your pizza crust will turn out chewy, crisp, and full of flavor. Ready for the next step? Let’s shape the dough.
How to Make Sourdough Pizza Dough: A Step-by-Step Guide
This method uses stretch and fold instead of traditional kneading. It’s simple and beginner-friendly. Follow these steps closely and you’ll end up with a dough that’s strong, airy, and full of flavor.

Step 1: Mix the Dough
In a large bowl, combine 500 grams bread flour, 300 grams sourdough discard, 275 grams warm water, and 10 grams kosher salt. Mix until no dry flour remains. The dough will look shaggy and sticky. Cover with a towel or plastic wrap and let it rest for 20 minutes.
Step 2: Stretch and Fold
With damp hands, grab one edge of the dough, stretch it upward, then fold it over itself. Rotate the bowl and repeat on all sides. Turn the dough over so that the seam side is facing downward. Cover and let it rest for 15 minutes. Repeat this stretch and fold process four to six times with 15-minute rests in between. By the last set, the dough should feel smooth and elastic.

Step 3: Bulk Fermentation
Place a cover over the bowl and allow the dough to rise at room temperature until it has doubled in size. This can take two to four hours depending on the temperature in your kitchen. Warmer environments rise faster.

Step 4: Divide and Shape
Lightly flour your counter. Turn the dough out and divide it into two equal pieces. Shape each into a ball by folding the edges toward the center. Flip them seam side down and place on a lightly floured surface.

Step 5: Proof the Dough
Let the dough balls rest uncovered for 15 to 20 minutes if baking the same day. For stronger flavor, place them in the fridge in a covered container for up to four days.
Step 6: Stretch the Dough
Place one dough ball on a floured surface. Use your fingertips to press the dough from the center out, leaving a border around the edge. Gently lift and rotate it in your hands until it reaches your desired size and thickness.
Step 7: Top and Bake
Add sauce, cheese, and toppings of your choice. Place the pizza onto a baking stone, steel, or a preheated sheet pan. Cook in a hot oven until the crust turns golden and the cheese is bubbling.

Each step builds the strength and flavor of your dough. Be patient and allow the sourdough to work its wonders.
The Ultimate Sourdough Pizza Dough Timeline
One of the biggest advantages of this recipe is that you can enjoy sourdough pizza on the same day. Here is a simple hour-by-hour timeline to guide you from start to finish. Adjust as needed depending on your kitchen temperature and schedule.
8:00 AM
Mix flour, water, sourdough discard, and salt until combined. Cover and let rest.
8:30 AM
Begin the first stretch and fold. Repeat every 15 minutes for a total of 4 to 6 rounds. By around 9:30 AM your dough should feel elastic and smooth.
9:30 AM to 1:30 PM
Leave the dough covered at room temperature for bulk fermentation. During this time, the dough should rise until it nearly doubles in size.
1:30 PM
Turn the dough onto a floured surface and divide into two equal balls. Shape each ball by folding the edges inward, then flip seam side down.
1:45 PM
Let the shaped dough balls rest at room temperature for 15 to 20 minutes. This short proof relaxes the gluten and makes stretching easier.
2:00 PM
Stretch your first dough ball into a round base. Add sauce, cheese, and toppings.
2:15 PM
Bake the pizza in a preheated oven. Depending on your baking surface, it will take 8 to 12 minutes for the crust to turn golden and the cheese to melt.
2:30 PM
Pull the pizza out, slice, and enjoy. Repeat the process with the second dough ball or store it for later use.
This timeline makes it easy to plan your day. By following it closely, you’ll have fresh sourdough pizza ready in time for lunch or dinner without waiting overnight.
Dough and Baking Masterclass: Going Beyond the Basics
Making sourdough pizza dough at home gives you flexibility and control. With a few expert tips, you can adjust the crust, flavor, and baking method to fit your taste and equipment.
Flour Comparison Table
| Flour Type | Texture of Crust | Flavor Profile | Best Use Case |
|---|---|---|---|
| Bread Flour | Chewy and airy | Balanced tang | Classic pizza crust |
| All-Purpose Flour | Softer and lighter | Mild flavor | Quick weeknight pizza |
| Tipo “00” Flour | Thin and crisp | Delicate taste | Neapolitan-style pizza |
| Whole Wheat | Dense and hearty | Nutty flavor | Rustic pizza with earthy notes |
Cooking Methods
- Standard Oven
Preheat to the highest setting, usually around 500°F. Place your pizza on a preheated stone or steel for even heat and crisp edges. - Cast Iron Skillet
Warm up the skillet on the stove until it’s hot, then move it to the oven. This method creates a firm bottom crust and works well for smaller pizzas. - Outdoor Pizza Oven
If you have a wood-fired or gas pizza oven, cook at 700 to 800°F. The crust will blister beautifully in just 2 to 3 minutes.
Ingredient Science
- Hydration
This recipe has a high hydration level, which makes the dough feel sticky at first. Hydration is the proportion of water compared to flour. Higher hydration produces lighter, more open crumbs in the crust. - Windowpane Test
To assess gluten development, carefully pull a small portion of dough. If it stretches into a thin, transparent sheet without ripping, the dough has achieved sufficient strength.
Unique Variations
- Add dried herbs like oregano, basil, or thyme directly into the dough for extra flavor.
- Add a tablespoon of olive oil to achieve a more tender texture.
- Top with unusual combinations like fig and prosciutto, roasted garlic and spinach, or buffalo chicken with ranch drizzle.
By experimenting with flour, baking surfaces, and flavor variations, you can customize this dough to match your perfect pizza style.
Sourdough Pizza Dough Troubleshooting Common Problems
Sticky Dough
High hydration recipes often feel sticky. Sprinkle flour on your hands and work surface while shaping. If it still feels too wet, cut the water by 20 to 25 grams next time.
Dough Not Rising
A cool kitchen can slow fermentation. Keep the dough in a warmer spot around 75 to 80°F. If your discard is older than 10 days, it may also lack strength. Use fresher discard for better results.
Flat or Dense Crust
This usually happens if the dough was over-proofed or handled too aggressively during shaping. Next time, watch the rise closely and stretch the dough gently to preserve air pockets.
Overly Sour Flavor
Discard that has been sitting for more than a week can develop a strong tang. For a balanced taste, use discard within 7 to 10 days or switch to active starter.
Conclusion: Your Best Pizza Yet
Now you have everything you need to make sourdough discard pizza dough that is flavorful, chewy, and ready the same day. With just a few ingredients, simple steps, and a little patience, you can create pizza that rivals your favorite pizzeria.
This recipe not only saves time but also puts your sourdough discard to good use. It turns what might have been waste into something that brings people together around the table.
I suggest you try out this recipe and personalize it to your liking. Experiment with different flours, toppings, and baking methods until you find your perfect version.
If you make this pizza, share your results in the comments. I’d love to hear what toppings you chose and how your crust turned out. And if you enjoy this recipe, pass it along to friends or share it on social media so more people can discover how simple and rewarding sourdough pizza can be.
Your best pizza night starts here.
Frequently Asked Questions
How long does sourdough discard last in the fridge?
About 7 to 10 days. Discard with a gray liquid layer or sharp smell should be replaced.
How do I store leftover sourdough pizza dough?
Keep shaped dough balls in an airtight container in the fridge for up to 4 days. Allow them to rest at room temperature for about an hour before stretching and baking.
Can I use just sourdough discard for pizza dough?
Yes. Discard alone provides flavor and lift, though the rise will be more modest than dough made with commercial yeast.
Can I freeze sourdough discard?
Yes. Store discard in a freezer-safe container with some space for expansion. Thaw in the fridge before using it in recipes.
With these troubleshooting tips and answers, you’ll have everything you need to handle sticky dough, slow rises, or flavor concerns with confidence
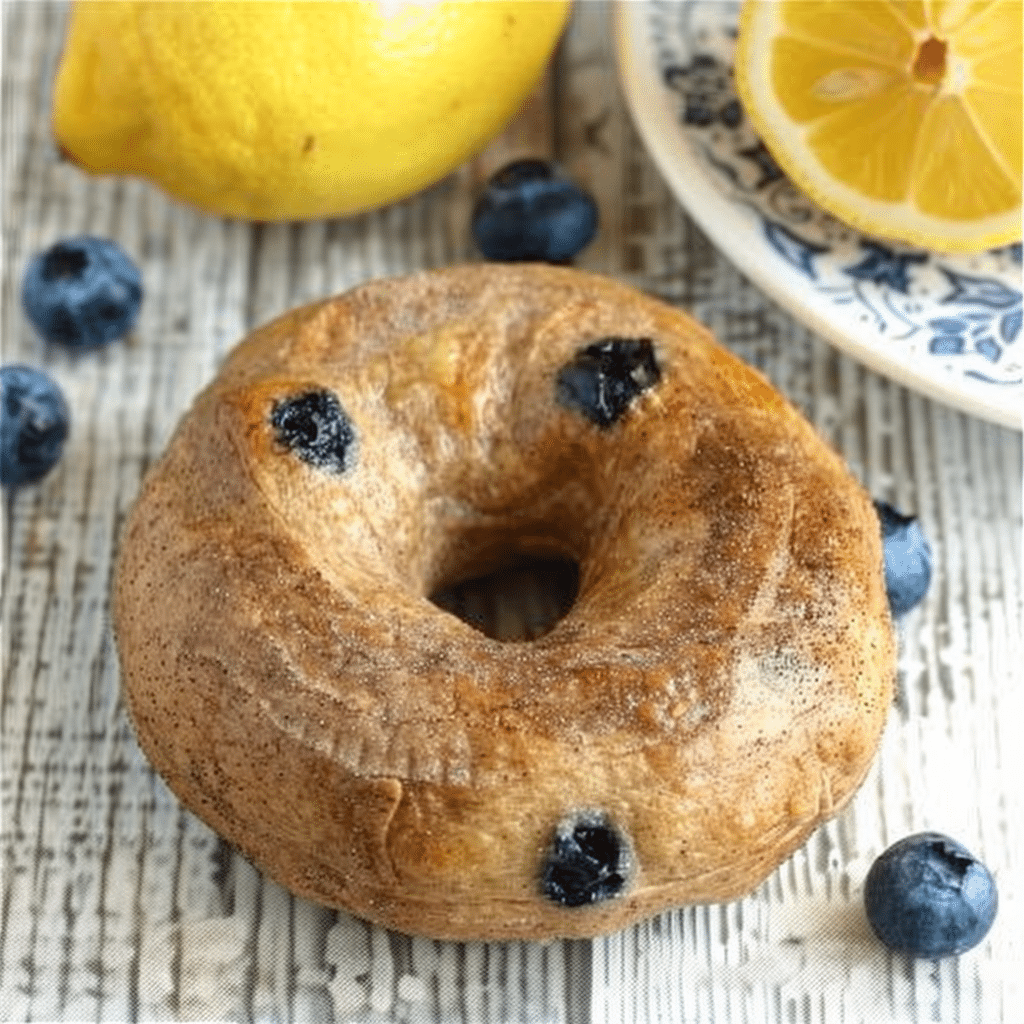
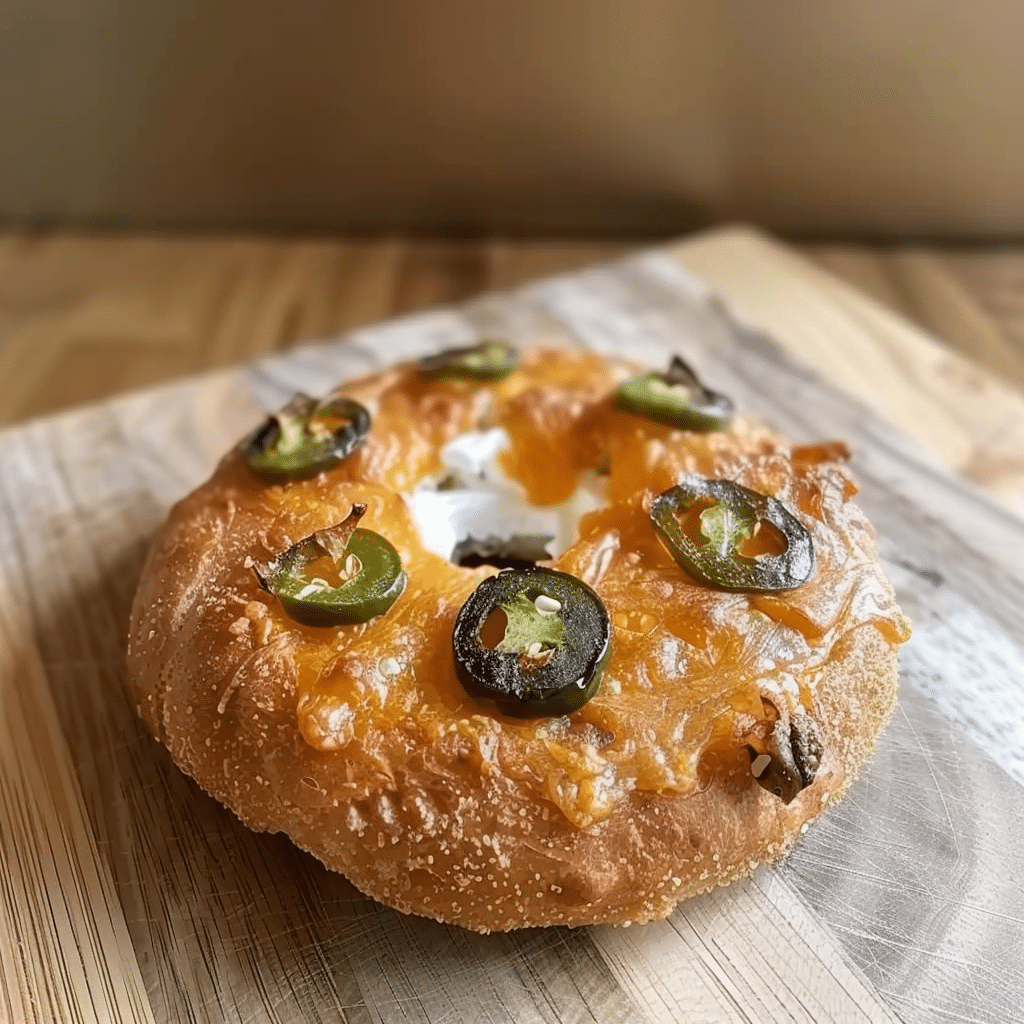
If you’re loving the tangy flavor that sourdough discard brings to your pizza dough, you’ll also enjoy making my Sourdough Bagels Homemade Flavors. They’re simple, chewy, and perfect for breakfast or sandwiches.
For more recipes follow me on : pinterest and medium
Warning: This article is provided for strictly informative purposes and cannot be replaced in any case as a medical professional, a diagnosis or a treatment.
For all health questions, you should consult a qualified health professional.


This was so so good! It is simple and quick but a delicious dinner:)
Thank you so much, Janaya! I’m thrilled you enjoyed it. I love creating recipes that are quick, simple, and still packed with flavor, so hearing that it made a delicious dinner for you absolutely makes my day! Can’t wait for you to try more recipes I have a feeling you’ll love the next one I’m sharing soon!